This document will walk you through the installation of the Panopto for Windows. Be sure to have plenty of hard drive space available for long sessions. For information on how to record with Panopto for Windows please see the How to Record with Panopto for Windows article.
1. Installation
1.1. In the upper left corner of your Panopto site, select the + Create button and then select Panopto for Windows (Figs. 1a and 1b).

Figure 1a

Figure 1b1.2. Select Download Panopto in the window that pops up to begin downloading the application (Fig. 2).
Figure 2
1.3. After clicking on either option, choose Download Panopto in the window that pops up to begin downloading the application (Fig. 3). Please note, Creators will only see the option to download the best recorder for their system as pictured below. Administrators will see options to download all of the recording clients.
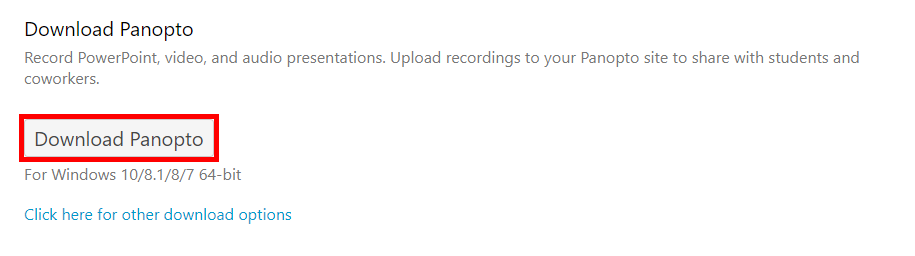 Figure 3
1.4. Locate PanoptoRecorder.exe in your downloads and run the application.
1.5. The installer will self-extract and begin the installation.
1.6. Select a Destination Folder to install the recorder, a Storage location where you would like your recordings saved, and the URL (without http) of our Panopto Web Server: dmu.hosted.panopto.com. Click Next (Fig. 4).
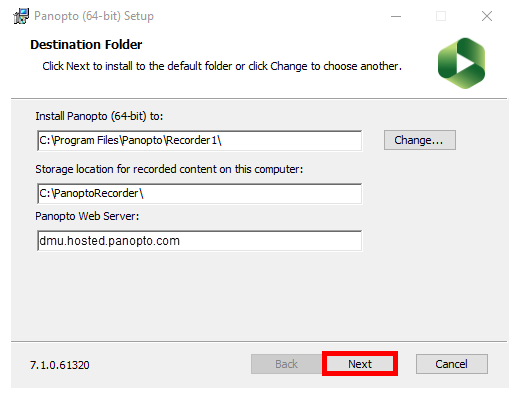
Figure 4
1.7. Click Install and the installation will begin (Fig. 5).
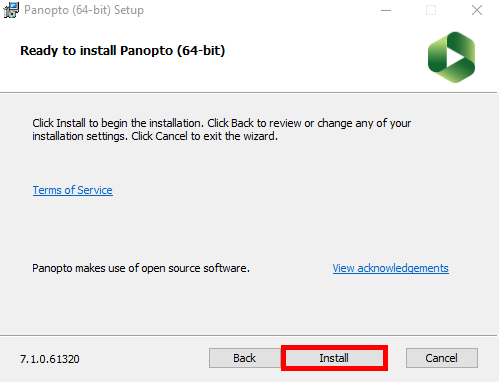
Figure 5
1.8. Once Panopto for Windows is installed, you will be able to open the software. Select Sign in (Fig. 6).

Figure 6
1.9. Your default internet browser will launch. Enter your username and password and then click Sign in (Fig. 7). You will be logged into Panopto for Windows and can begin recording.
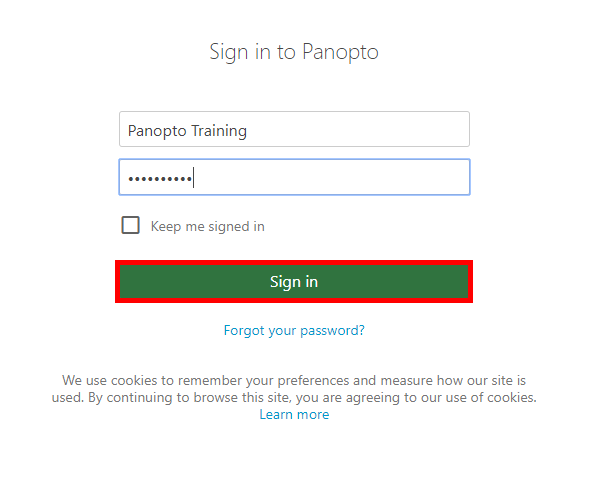
Figure 7
1.10. Alternately, you can pass your credentials to Panopto for Windows by launching it from inside of the video library. Click the + Create button and then Panopto for Windows (Fig. 8a and 8b).

Figure 8a

Figure 8b