How To: Install Campus Printers on DMU Issued/Managed Computers
This article will walk you through installing the global (find me print) queues for both the Des Moines Campus and the West Des Moines Campus on DMU issued/managed computers. For personally owned computers, follow the instructions outlined here: https://dmu.freshservice.com/support/solutions/articles/14000044108
Important: The campuses have two separate print queues/servers. You will be able to print to both queues from either location. However, print jobs sent to printers for the Des Moines campus will not be available to release at West Des Moines campus and vice versa.
Requirements:
- An active network connection to DMU, either on campus or on VPN
- A DMU issued/managed computer.
Windows:
Install: Staff_Printers_Xerox (DM Campus)
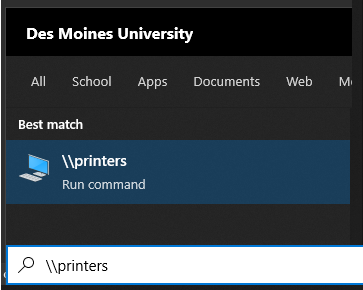
1. Click the Windows (START) button and type \\printers and press Enter
2. Locate Staff_Printers_Xerox
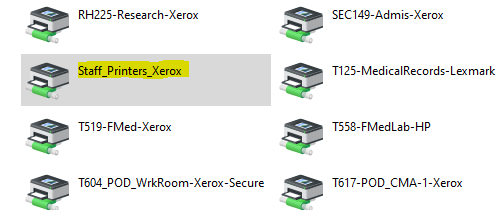
3. Double click to install
You will see a print queue window open when successful.
4. (Optional) Click the Print menu in the print queue window and click Set as Default Printer
Xerox_Printers (WDM Campus)
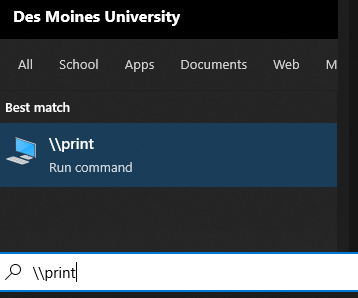
1. Click the Windows (START) button and type \\print and press Enter
2. Locate Xerox_Printers
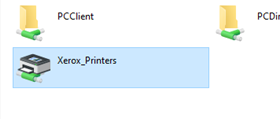
3. Double-Click to install the printer
You will see a print queue window open when successful.
4. (Optional) Click the Print menu in the print queue window and click Set as Default Printer
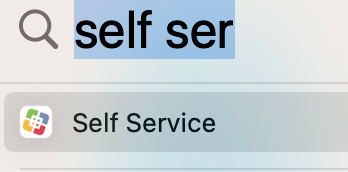
1. Open the Self Service application.
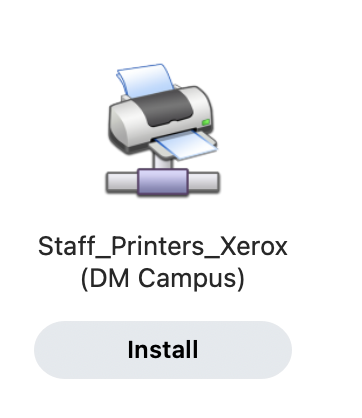
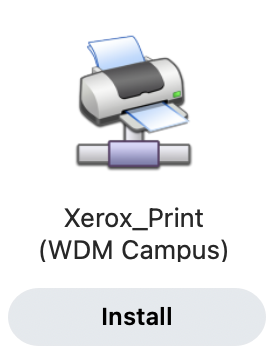
2. Find the printer you want and click the Install button below it.
Troubleshooting:
MacOS 14.4 - If you see an error from Self Service like below, you may need to allow full disk access to a service.
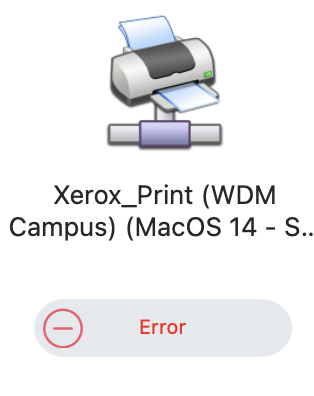
Go to System Settings > Privacy and Security > Full Disk Access
Find com.microsoft.dlp and enable.